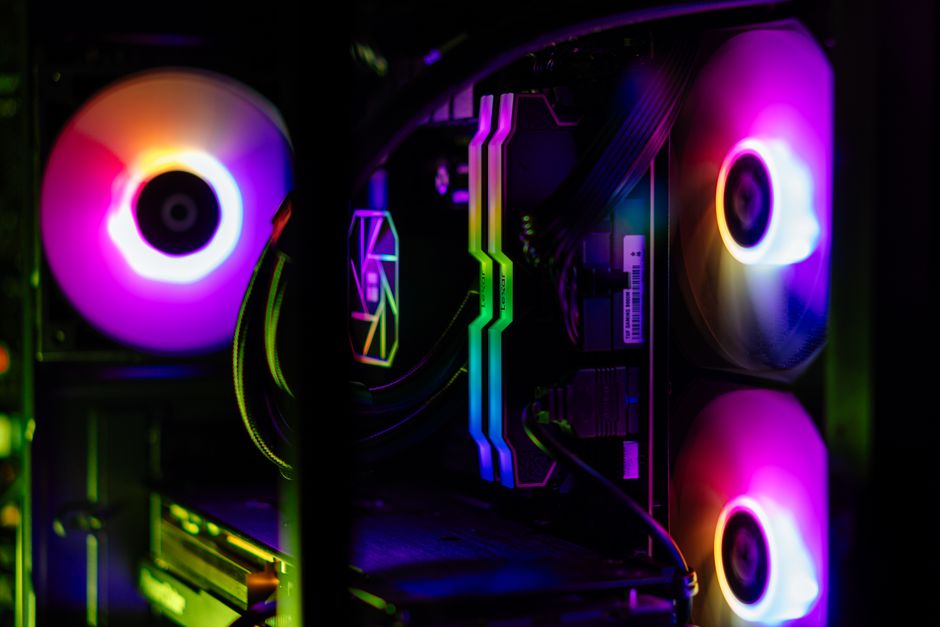
Intimidated by building your own PC? Our in-house technicians walk you through every step, from component selection to first boot, with photos.
Why build your own?
Building your own PC saves you 15-25% over a comparable pre-built, lets you choose exactly the components you want, and teaches you how to maintain and upgrade it. More importantly, it is deeply satisfying. At NovaTech, we help you pick parts that are guaranteed compatible, and our build service is free if you buy all components from us — or you can build it yourself in our workshop with a technician guiding you.
Component selection: the compatibility checklist
Your CPU and motherboard socket must match (AM5 for Ryzen 7000/8000, LGA1700 for Intel 12-14th gen). Your RAM generation must match your motherboard (DDR5 for AM5 and Z790, DDR4 for older). Your PSU must have enough wattage headroom (add 50% to your system draw) and the right connectors for your GPU. Your case must fit your GPU length and cooler height. We provide a free compatibility check with every quote.

Step 1: Install the CPU
Place the motherboard on its box. Lift the CPU socket lever. Align the golden triangle on the CPU with the triangle mark on the socket — never force it. Gently lower the CPU in, lower the lever, and lock it. For Intel LGA1700, you will need to remove a protective cover first. For AMD AM5, the CPU sits flat with no pins to bend.
Step 2: Install RAM and M.2 SSD
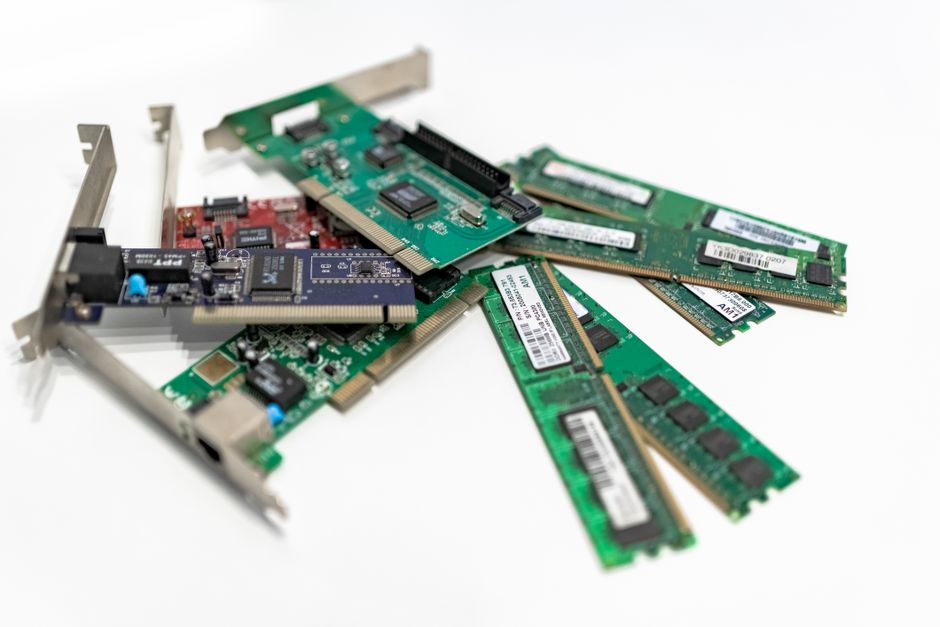
Open the RAM slot clips at both ends. Align the notch in the RAM stick with the ridge in the slot. Press down firmly until both clips click shut — you will hear two satisfying clicks. For the M.2 SSD, remove the standoff screw, insert the SSD at a 30-degree angle, push it flat, and secure with the screw. On newer motherboards, use the tool-less clips instead of screws.
Step 3: Mount the CPU cooler
For air coolers, apply a pea-sized drop of thermal paste to the CPU centre, place the cooler, and secure with the mounting hardware. For AIO liquid coolers, mount the radiator to the case top or front first, then attach the pump block to the CPU. Connect the fan headers and pump header to the motherboard. Boot into BIOS to confirm the pump is running.
Step 4: Install the GPU
Remove the appropriate PCIe slot covers from the back of the case. Push the retention clip down on the top PCIe x16 slot. Align the GPU and push firmly until the clip clicks. Secure the GPU to the case with screws. Connect the PCIe power cables from the PSU — modern RTX 4070 and up require a single 16-pin 12VHPWR cable.

Step 5: Cable management and first boot
Route cables behind the motherboard tray using the provided tie points. Connect the 24-pin ATX, 8-pin EPS CPU power, and front panel connectors. Double-check everything. Plug in, flip the PSU switch, and press the power button. Enter BIOS to confirm all components are detected and temperatures are normal. Install Windows, update drivers, and you are ready to game.
Or let us build it for you
If this feels daunting, our NovaTech Vortex custom build service handles everything — component selection, assembly, 48-hour stress testing, cable management, and a benchmark report. Every Vortex ships with a 3-year assembly warranty. Visit our Nehru Place showroom to see live builds and talk to our technicians.
Imran Qureshi
Build Technician at NovaTech Computer Store